
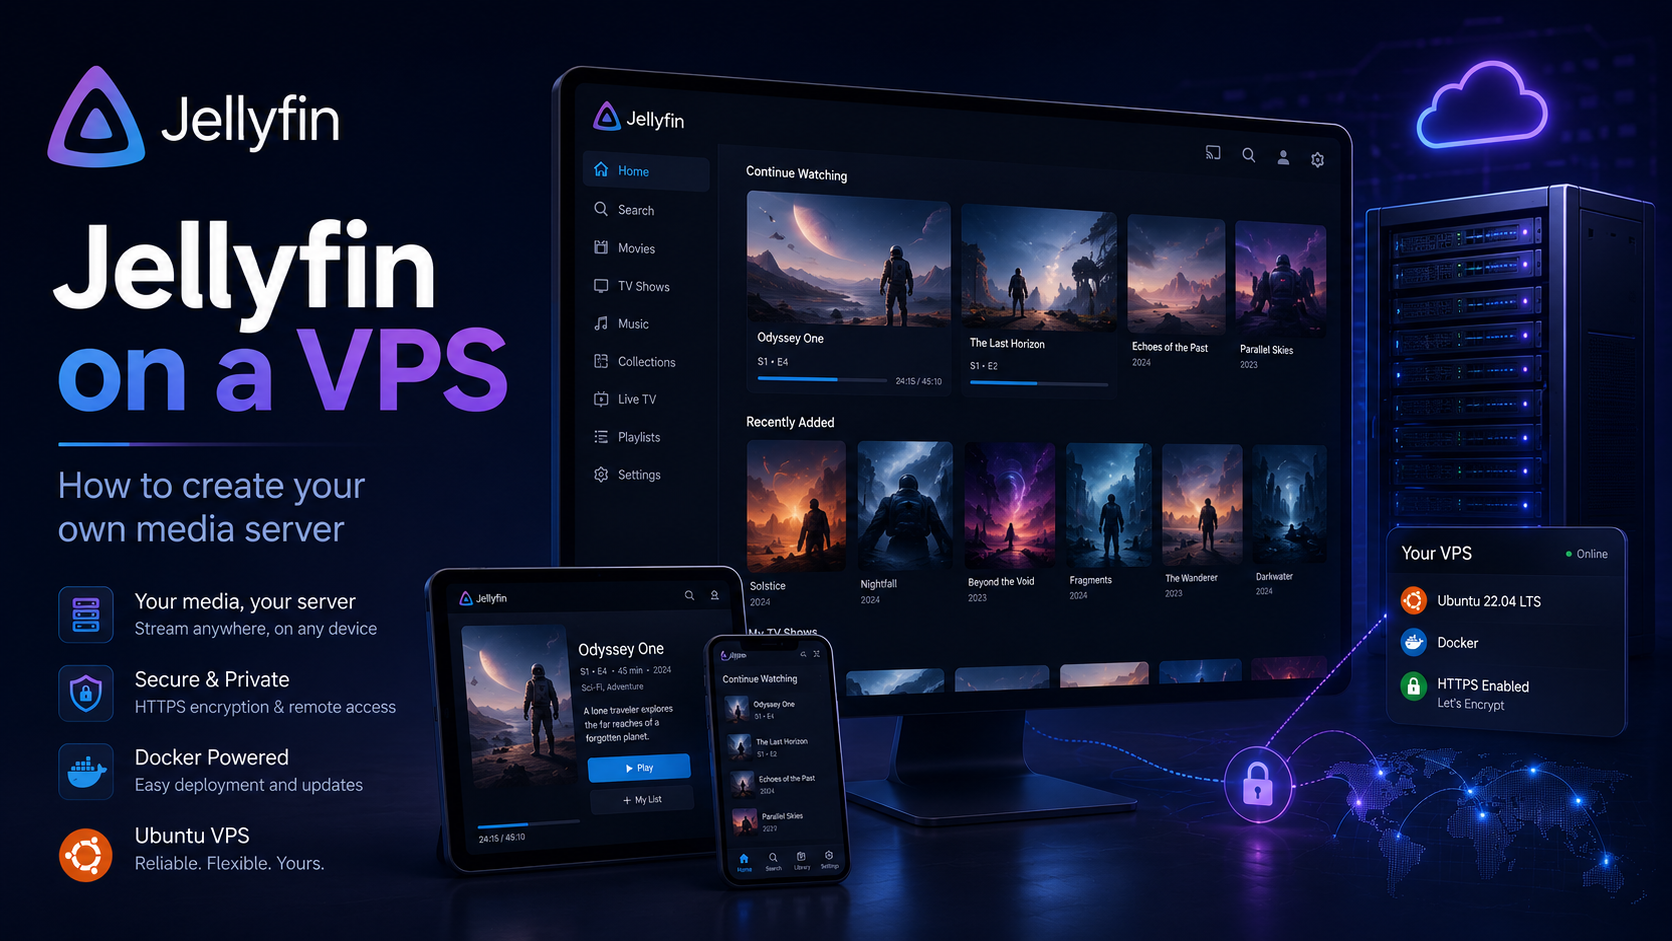
Jellyfin on a VPS: how to create your own media server
A folder full of videos rarely feels like a convenient media library: inconsistent file names, separate subtitle files, and manual searches for the right episode. Jellyfin turns this kind of archive into a personal streaming service with posters, descriptions, user profiles, and playback progress.
At the same time, Jellyfin does not sell subscriptions or provide a ready-made content catalog. It works with your own files and can run on a home computer, NAS, or VPS. Below, we will examine its features, server requirements, and installation on Ubuntu with a domain name and HTTPS.
What Jellyfin is and why you might need it
Jellyfin is a free, open-source media server. The server indexes movies, TV shows, music, photos, and other content, while client applications play it on a phone, computer, or television.
After scanning folders, Jellyfin downloads posters and descriptions, organizes shows by season, remembers playback progress, and displays a “Continue Watching” section. You can create separate local profiles for family members, limit access to libraries, and configure parental controls. Quick Connect lets users sign in on a television with a short code instead of entering a long password.
Clients are available for Android, iOS, Android TV, Roku, webOS, Tizen, Xbox, and desktop computers. Jellyfin also provides a web interface and Kodi integration.
Jellyfin additionally supports music, IPTV, TV tuners, and live TV recording. SyncPlay synchronizes playback for multiple users, while plugins add subtitles, new metadata sources, and integrations.
Jellyfin does not search for or download movies on its own. It only organizes and streams content that the server owner already has.
Jellyfin vs. Plex: the main differences
Both solutions turn a local collection into a media service, but they use different models.
| Parameter | Jellyfin | Plex |
|---|---|---|
| Source code | Open source | Proprietary |
| Premium features | The server and official clients have no paid tier | Some features depend on the subscription plan |
| Central account | Not required | Uses the provider’s ecosystem |
| Remote access | The owner configures a domain, reverse proxy, or VPN | Offers more ready-made mechanisms |
| Control over data | Maximum | Part of the infrastructure is controlled by the provider |
People choose Jellyfin for independence, privacy, and the absence of a subscription. Plex may be more convenient when the highest priorities are the simplest possible setup and consistently polished apps across all devices.
Direct Play or transcoding: what puts load on the server
Jellyfin performance depends less on the size of the library than on the playback method.
| Mode | What happens | Load |
|---|---|---|
| Direct Play | The server sends the original file | Low |
| Direct Stream | The container or an individual track is changed | Low or medium |
| Transcoding | The codec, resolution, or bitrate is changed on the fly | High |
If the television supports the file’s codec, audio, and subtitles, the server uses almost no CPU. Problems begin when the client cannot handle the format, the connection requires a lower bitrate, or subtitles must be burned into the picture. Jellyfin then launches FFmpeg and transcodes the video in real time.
4K, HEVC, HDR, and HDR-to-SDR conversion are especially demanding. A regular VPS without a graphics processor may struggle even if it has many virtual CPU cores. Compatible formats and Direct Play can therefore save more money than moving to the next server plan.
What kind of server Jellyfin needs
The official recommendation for a typical installation is around 8 GB of RAM. On Linux without a graphical interface, a small server can operate with 4 GB. A fast drive is needed for the operating system, database, images, cache, and temporary files; the media library is stored separately and usually occupies most of the space.
| Scenario | Starting configuration | Comment |
|---|---|---|
| Music and one 1080p Direct Play stream | 2 vCPU, 4 GB RAM | Network and disk speed matter more |
| Small family media library | 4 vCPU, 8 GB RAM | Compatible formats are preferable |
| Occasional 1080p transcoding | 4–8 high-performance vCPU or a GPU | Load depends on the codec |
| Several 4K/HDR streams | Modern Intel iGPU or a graphics card | A regular CPU-only VPS is not suitable |
Remember to account for traffic as well: a 20 Mbps stream transfers about 9 GB of data per hour. With daily viewing, usage can quickly reach hundreds of gigabytes per month.
Home server or VPS
A home mini PC or NAS is more cost-effective for a multi-terabyte collection and regular hardware transcoding. You can install large-capacity drives and choose a processor with Intel Quick Sync, but remote access depends on electricity, the home internet connection, and the availability of a public IP address.
A VPS has a public address, a stable connection, and operates around the clock. It is convenient for music, a small video library, Direct Play, and users in different locations. Its limitations are storage cost and the lack of a GPU on standard plans.
There is also a hybrid option: the files remain at home, while the VPS acts as a secure entry point. This setup helps when no public IPv4 address is available, but playback speed is still limited by the home connection’s upload bandwidth.
Installing Jellyfin on Ubuntu with Docker Compose
In the setup below, Jellyfin and Caddy run on the same Docker network. Port 8096 is not exposed to the internet; Caddy accepts HTTPS connections and automatically obtains a certificate.
First, point the domain’s A record, for example media.example.com, to the server’s IP address.
1. Install Docker and create the directories
sudo apt update
sudo apt install -y docker.io docker-compose-v2
sudo systemctl enable --now docker

sudo mkdir -p /opt/jellyfin/{config,cache,caddy-data,caddy-config}
sudo mkdir -p /srv/media/{movies,series,music}
cd /opt/jellyfin
2. Create /opt/jellyfin/compose.yaml
services:
  jellyfin:
    image: jellyfin/jellyfin:latest
    container_name: jellyfin
    restart: unless-stopped
    volumes:
      - ./config:/config
      - ./cache:/cache
      - /srv/media:/media:ro
    networks: [media]

  caddy:
    image: caddy:2
    container_name: jellyfin-caddy
    restart: unless-stopped
    ports:
      - "80:80"
      - "443:443"
      - "443:443/udp"
    volumes:
      - ./Caddyfile:/etc/caddy/Caddyfile:ro
      - ./caddy-data:/data
      - ./caddy-config:/config
    networks: [media]

networks:
  media:
The :ro option mounts the media library as read-only and protects the original files from accidental deletion through Jellyfin.
3. Create /opt/jellyfin/Caddyfile
media.example.com {
    reverse_proxy jellyfin:8096
}
Replace the domain with your own, start the containers, and open the required ports:
sudo docker compose up -d

sudo ufw allow OpenSSH
sudo ufw allow 80/tcp
sudo ufw allow 443/tcp
sudo ufw allow 443/udp
sudo ufw enable
If SSH uses a different port, allow it with a separate rule before running ufw enable.
After the certificate has been issued, open https://media.example.com. In Jellyfin’s network settings, add the reverse proxy to the list of trusted proxies so that external access restrictions work correctly.
Initial media library setup
In the setup wizard, select a language, create an administrator, and add the libraries:
- movies —
/media/movies; - TV shows —
/media/series; - music —
/media/music.
Use clear names to ensure accurate identification:
/media/movies/Movie Title (2024)/Movie Title (2024).mkv
/media/series/Series Title (2024)/Season 01/Series Title S01E01.mkv
Create a separate standard profile for watching, and hide the administrator account from the sign-in screen. Give users access only to the libraries they need and do not allow file deletion unless it is necessary.
Updates and backups
The Jellyfin configuration contains users, settings, the database, and playback progress. Before an update, stop the container and save the config directory:
cd /opt/jellyfin
sudo docker compose stop jellyfin
sudo tar -czf /root/jellyfin-config-$(date +%F).tar.gz config
sudo docker compose start jellyfin
Move the archive outside the VPS. Back up media files separately.
To update, run:
sudo docker compose pull
sudo docker compose up -d
Do not expose port 8096 directly. Use HTTPS or a VPN, install updates regularly, and monitor the available disk space.
Jellyfin on a VPS from tropic.host
For a small media library that mainly uses Direct Play, you can start with a Linux VPS with 4 GB of RAM. For several users, a large database, and additional services, 8 GB is a more reasonable choice.
When choosing a VPS from tropic.host, evaluate storage capacity, monthly traffic, and the need for transcoding separately. A virtual server is convenient as an always-available endpoint with a public IP address and HTTPS, but it does not replace a GPU server. If you need several 4K/HDR streams with format conversion, a home server with an Intel iGPU, a dedicated server, or a specialized plan with a graphics card is a better option.
You can begin with a small collection, check the share of Direct Play sessions in the Jellyfin dashboard, and only then increase CPU, RAM, or storage according to the actual load.
Summary
Jellyfin turns your own collection into a personal streaming service without a mandatory subscription or central account. For a successful deployment, it is important to estimate storage, traffic, and the likelihood of transcoding in advance.
A small server using Direct Play can often manage with 4–8 GB of RAM. Regular 4K/HDR playback requires hardware video processing. Regardless of the configuration, protect external access with HTTPS or a VPN, and back up the settings and media library separately.
FAQ
Is Jellyfin completely free?
Yes. The server and clients are available without a premium plan. You only need to pay for the hardware, VPS, drives, domain name, and traffic.
Does Jellyfin include ready-to-watch movies and TV shows?
No. Users add their own media files.
Can Jellyfin run on a VPS without a graphics card?
Yes, provided that most files play through Direct Play. Frequent 4K and HDR transcoding requires a server with a suitable iGPU or graphics card.
How much RAM does Jellyfin need?
A small Linux server can run with 4 GB of RAM. For a family media library and several users, 8 GB is a better target.
How can I access Jellyfin safely over the internet?
Use a domain and HTTPS through a reverse proxy, or use a VPN. Do not expose port 8096 directly, and create separate user accounts with minimal permissions.