
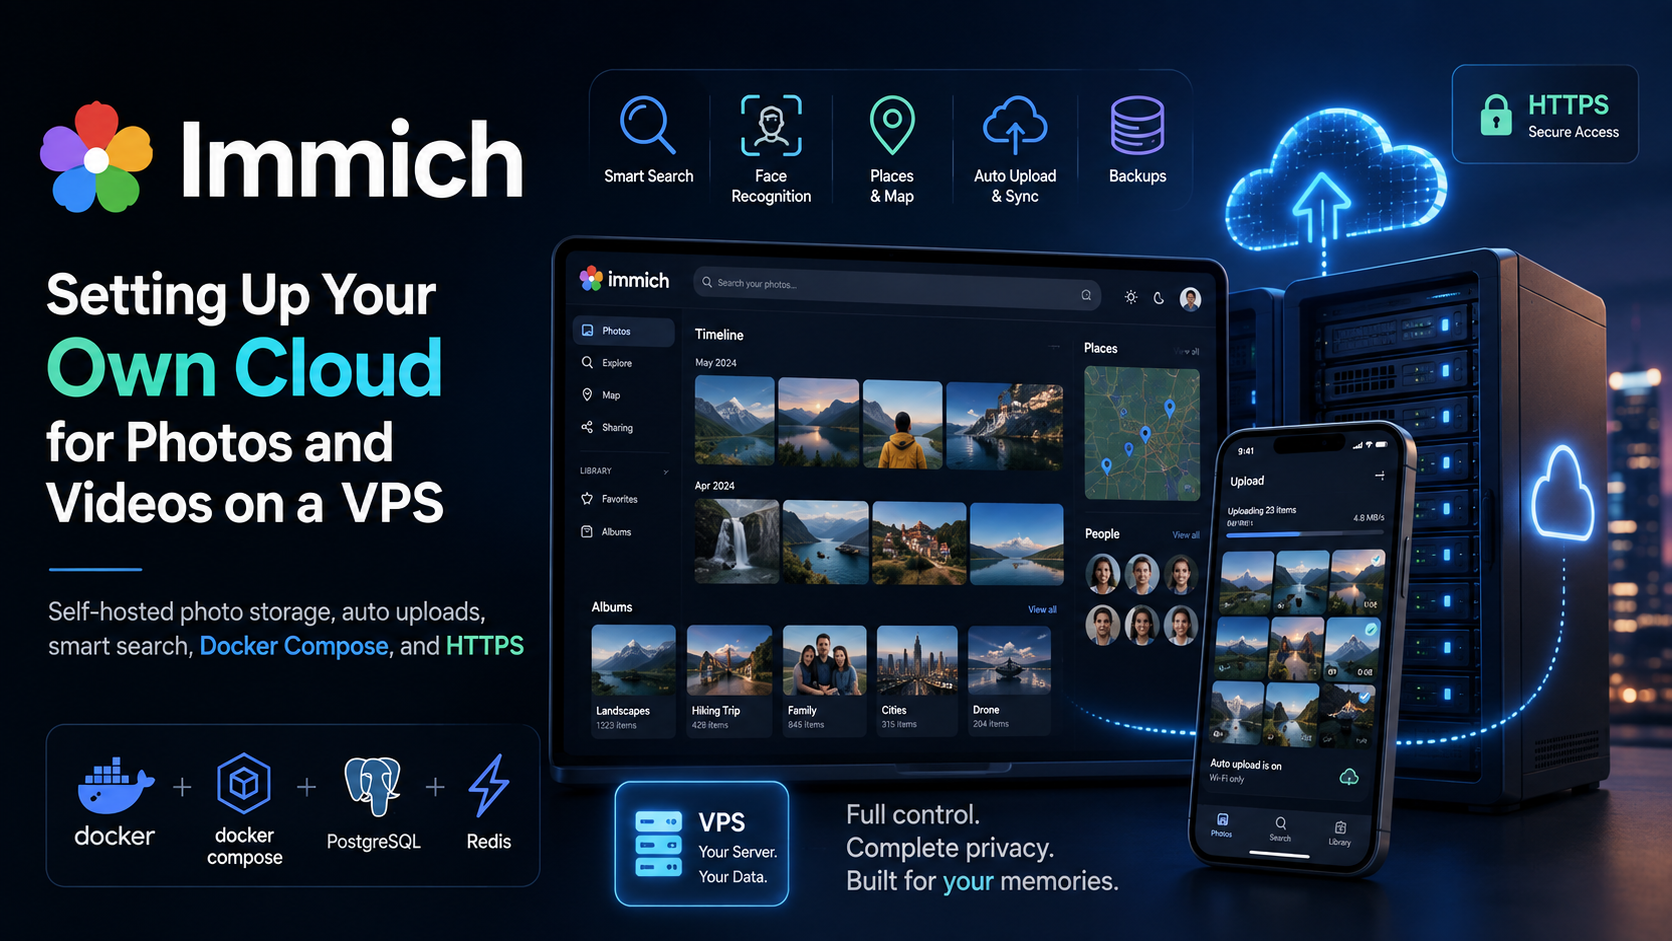
Immich: Setting Up Your Own Cloud for Photos and Videos on a VPS
Immich is a self-hosted service for storing and automatically uploading photos and videos. It offers mobile apps, a web interface, albums, smart search, and face recognition, while keeping the library on a server of your choice.
Below, we will cover Immich's requirements, installation on Ubuntu with Docker Compose, HTTPS setup, phone connection, and external backups.
Immich in Six Steps
- Create a Linux VPS with enough RAM and disk space.
- Point a subdomain, such as
photos.example.com, to the server's IP address. - Install Docker and download the official Immich configuration.
- Specify the media library and database paths, then start the containers.
- Close the internal port and enable HTTPS.
- Install the mobile app and configure an external backup.
What Is Immich?
Immich is an open-source application for managing your own photo and video library. Photos appear on a timeline, can be grouped into albums, found through search, and automatically uploaded from a phone to the server.
The main difference from a conventional cloud photo service is control over the server side. Files are stored on your VPS or home server, but the owner is responsible for free space, updates, security, and backups.
| Parameter | Cloud photo service | Immich |
|---|---|---|
| Where files are stored | On the provider's infrastructure | On your server |
| Maintenance | Handled by the provider | Handled by the owner |
| Costs | Storage-based plan | VPS, disk space, and backups |
Immich is not a backup by itself. If the photos exist only on one VPS, a disk failure or accidental deletion can still destroy the archive.
Main Immich Features
- Automatic uploads. The Android and iOS apps upload photos and videos from selected albums. Wi-Fi is used by default, and files that already exist are skipped based on their checksum.
- Smart search. The service can search by people, location, date, camera, text in an image, and a description of the content. Faces are grouped and can then be assigned names.
- Albums and sharing. Immich supports multiple users, shared albums, partner sharing, and public links with a password and expiration date.
- Map and metadata. Immich reads EXIF data, displays where a photo was taken, creates memories, and supports favorites, an archive, and external libraries.
Machine learning puts the greatest load on CPU and RAM during the initial import. Once thumbnails and indexes have been generated, everyday resource usage is usually lower.
Immich Server Requirements
The official requirements for current versions are:
- a 64-bit Linux or Unix-like system;
- at least 2 CPU cores, with 4 recommended;
- at least 6 GB of RAM, with 8 GB recommended;
- Docker Engine with the
docker composeplugin; - a local SSD for the PostgreSQL database;
- space for original files, thumbnails, and transcoded videos.
Immich can run on a server with 4 GB of RAM if machine-learning features are disabled. For face recognition and smart search, it is better to choose 8 GB from the start.
Thumbnails and transcoded files add an average of 10–20% to the size of the media library. For a 200 GB archive, allocate at least 240–260 GB. The DB_DATA_LOCATION database directory should be stored on a local SSD, not a network drive.
A practical starting configuration is 4 vCPUs, 8 GB of RAM, Ubuntu 24.04 LTS, and an SSD with 20–30% more capacity than the source library. A dedicated graphics card is not required, although it can speed up the processing of a large archive.
How to Install Immich on a VPS
This example uses Ubuntu 24.04 and the photos.example.com subdomain.
1. Configure DNS and Prepare Ubuntu
Create an A DNS record pointing to the VPS's IPv4 address. Then connect over SSH:
ssh root@SERVER_IP
apt update && apt upgrade -y

ufw allow OpenSSH
ufw allow 80/tcp
ufw allow 443/tcp
ufw enable
Do not close the current SSH session until you have verified that a new connection works.
2. Install Docker and Docker Compose
apt install -y ca-certificates curl
install -m 0755 -d /etc/apt/keyrings
curl -fsSL https://download.docker.com/linux/ubuntu/gpg \
  -o /etc/apt/keyrings/docker.asc
chmod a+r /etc/apt/keyrings/docker.asc

tee /etc/apt/sources.list.d/docker.sources > /dev/null <<EOF
Types: deb
URIs: https://download.docker.com/linux/ubuntu
Suites: $(. /etc/os-release && echo "${UBUNTU_CODENAME:-$VERSION_CODENAME}")
Components: stable
Architectures: $(dpkg --print-architecture)
Signed-By: /etc/apt/keyrings/docker.asc
EOF

apt update
apt install -y docker-ce docker-ce-cli containerd.io \
  docker-buildx-plugin docker-compose-plugin
docker compose version
Use the docker compose command specifically: the outdated docker-compose command is no longer supported by the project.
3. Download and Configure Immich
mkdir -p /opt/immich /srv/immich-data
cd /opt/immich

curl -L -o docker-compose.yml \
  https://github.com/immich-app/immich/releases/latest/download/docker-compose.yml
curl -L -o .env \
  https://github.com/immich-app/immich/releases/latest/download/example.env
Open the file:
nano /opt/immich/.envChange the main parameters:
UPLOAD_LOCATION=/srv/immich-data
DB_DATA_LOCATION=/opt/immich/postgres
TZ=Europe/Berlin
DB_PASSWORD=REPLACE_WITH_A_LONG_PASSWORD
Enter your own time zone. The PostgreSQL password should contain Latin letters and numbers; the openssl rand -hex 24 command will generate a random value. Leave the other lines as they appear in the current example.env file.
4. Close the Internal Port and Start the Containers
In docker-compose.yml, find the port for the immich-server service:
ports:
  - '2283:2283'
Replace it with:
ports:
  - '127.0.0.1:2283:2283'
The port is now accessible only from the VPS itself. Start the service:
cd /opt/immich
docker compose up -d
docker compose ps
For diagnostics, use docker compose logs --tail=200.
5. Enable HTTPS with Caddy
apt install -y caddy

cat > /etc/caddy/Caddyfile <<'EOF'
photos.example.com {
    reverse_proxy 127.0.0.1:2283
}
EOF

caddy validate --config /etc/caddy/Caddyfile
systemctl reload caddy
Caddy will request a certificate automatically if DNS points to the VPS and ports 80 and 443 are accessible. Immich must run at the root of a domain or subdomain; an address such as example.com/immich is not supported.
6. Create an Administrator and Connect Your Phone
Open https://photos.example.com. The first registered user becomes the administrator and can create additional accounts.
Install Immich from the App Store or Google Play. On the sign-in screen, enter the address without /api:
https://photos.example.comSelect the albums and enable backup. The first import may take some time: the server generates thumbnails, recognizes faces, indexes search data, and processes videos.
Updating Immich
Before updating, read the release notes, especially when moving to a new major version:
cd /opt/immich
docker compose pull
docker compose up -d
docker image prune
Update the mobile apps first, then the server. Rolling the database back to an older version may not be supported unless separate instructions are provided.
Backing Up Immich
Immich automatically creates PostgreSQL dumps, but they contain only the database and metadata, not the photos and videos. For a complete recovery, save:
- the entire
/srv/immich-datadirectory; /opt/immich/.envanddocker-compose.yml;- the Caddy configuration.
A copy on the same VPS does not protect against disk failure or deletion of the server. Send the data to a separate server, NAS, or object storage and follow the 3-2-1 backup strategy. Periodically test a restore instead of checking only that backup files exist.
Which VPS to Choose for Immich
For full functionality with face recognition and smart search, it is reasonable to choose a VPS with at least 4 vCPUs and 8 GB of RAM. Calculate the disk size based on the media library, with additional capacity for thumbnails, videos, and archive growth.
A Linux VPS from tropic.host with a static IP address and SSD storage is suitable for this task. You can start with an 8 GB RAM configuration and increase the resources as the library grows. Keep the PostgreSQL database on a fast local disk and the backup outside this VPS.
A VPS is convenient for round-the-clock access from any network. For an archive of several terabytes, a home server may be cheaper, but you will need to provide power, external access, and redundancy yourself.
Immich Limitations
Self-hosting does not guarantee reliability. A weak password, an exposed port 2283, outdated containers, or the lack of an external backup creates a risk of data loss.
Immich is also not an exact copy of Google Photos or iCloud: editing and background synchronization capabilities differ, and analysis speed depends on the hardware. Before moving your only archive, test the service with a small library.
Conclusion
Immich lets you create your own photo gallery with mobile uploads, albums, face recognition, search, and sharing. For a current version, it is best to prepare a Linux VPS with 4 cores, 8 GB of RAM, and an SSD with at least 20–30% spare capacity.
After installation, configure HTTPS, updates, and an external backup of the media directory together with the database. It is the backup—not self-hosting by itself—that protects photos from loss.
FAQ
Is Immich free?
The Immich server is open source and can run without a mandatory subscription. You still pay for the VPS, domain, disk space, and backups.
How much RAM does Immich need?
The official minimum is 6 GB of RAM, while 8 GB is recommended. With 4 GB, you will need to disable machine learning.
Can Immich be installed without a domain?
Technically, yes, but for permanent access from a phone, it is better to use a domain and HTTPS. This protects authentication and file transfers.
Does Immich replace a photo backup?
No. Copy the media library and database separately to another device or location.
Can I migrate an existing photo archive?
Yes. Files can be uploaded through the web interface or CLI, or a directory can be connected as an external library. Make a copy of the source data before a large-scale import.