
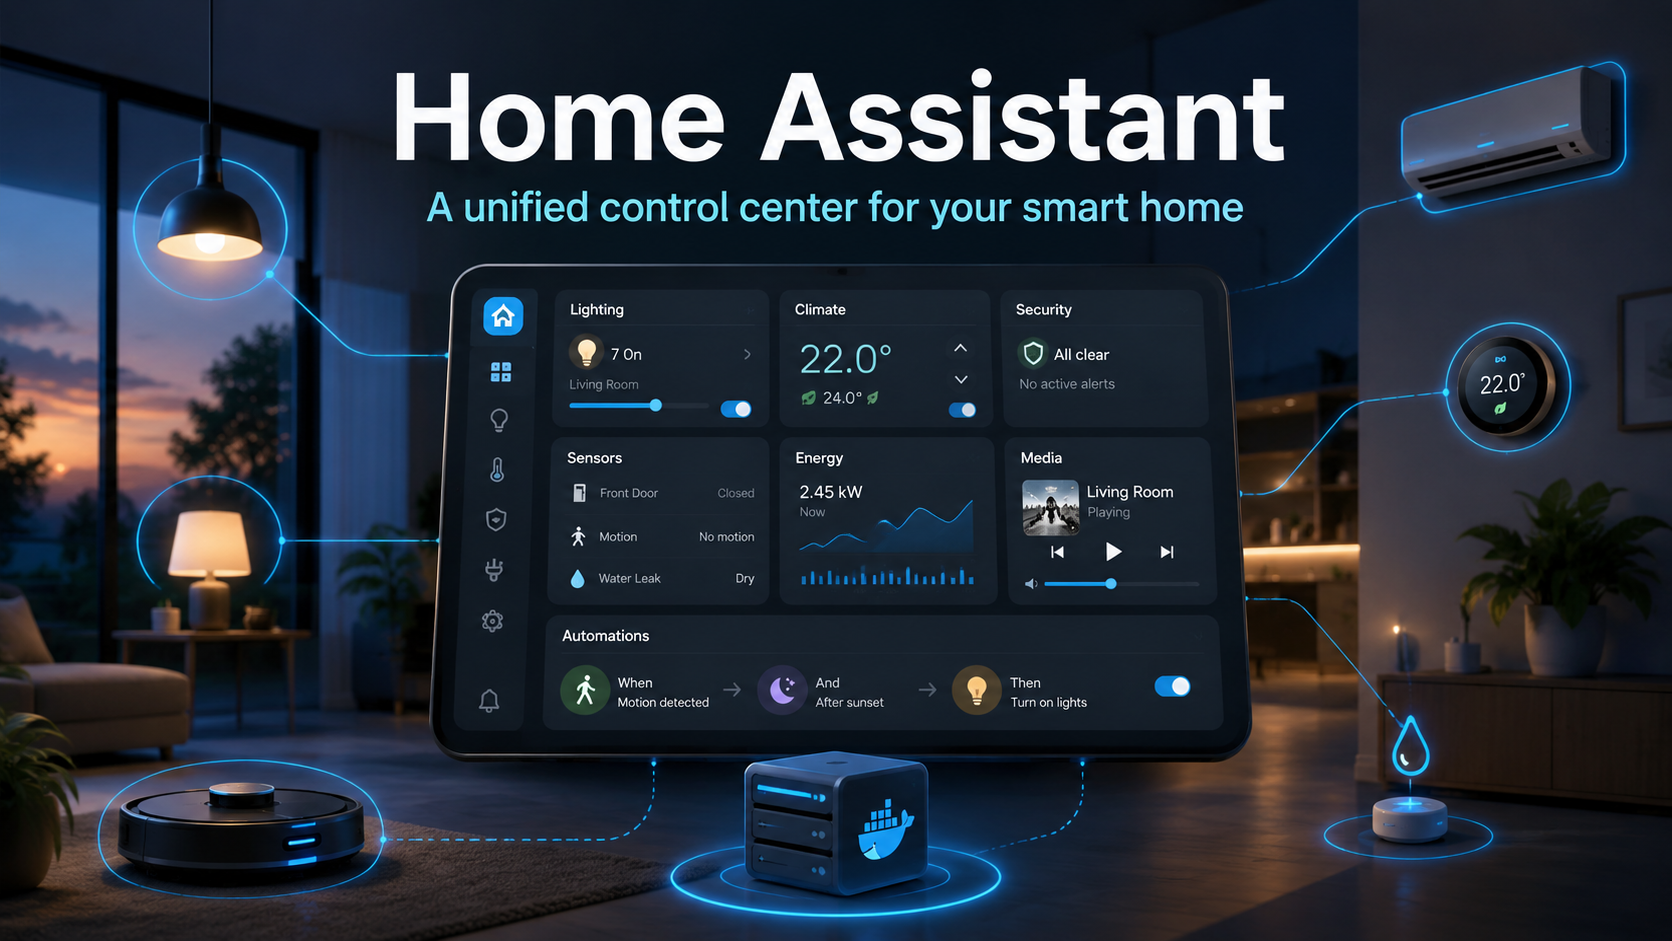
Home Assistant: a unified control center for your smart home
A smart light is set up in one app, the robot vacuum in a second, the air conditioner in a third, and the leak sensor sends notifications through a fourth. As a result, the “smart home” requires more manual actions than a regular light switch.
Home Assistant brings compatible devices together on a single dashboard and connects them through automations. Let us look at its features, requirements, and installation with Docker Compose.
Home Assistant in seven steps
- Check your devices in the Home Assistant integrations catalog.
- Choose where to install it: a ready-made hub, mini PC, Raspberry Pi, NAS, virtual machine, or Linux server.
- Install either Home Assistant OS or Home Assistant Container.
- Add the discovered devices and services.
- Assign them to rooms and configure the dashboard.
- Create one useful automation.
- Set up backups and secure remote access.
It is better to start not with dozens of scenarios, but with one problem that genuinely bothers you. Once the first automation works reliably, you can expand the system.
What is Home Assistant
Home Assistant is a free, open-source platform for controlling a smart home. It acts as a central hub: it connects to devices and services from different manufacturers and lets you manage them from a web interface or mobile app.
The project catalog includes more than 1,500 integrations: lighting, climate equipment, cameras, robot vacuums, energy meters, MQTT, Zigbee, Z-Wave, Matter, Apple HomeKit, and cloud services.
The main difference from a single-brand app is that a scenario is not limited to one ecosystem. A sensor from one manufacturer can turn on a light from another, change the temperature on a third-party thermostat, and send a notification to your phone.
Why Home Assistant is more useful than a collection of apps
If a system only moves a light switch into a smartphone, the home does not become smarter. The value of Home Assistant begins when a routine action happens automatically.
Automations consist of a trigger, an optional condition, and an action. For example: “someone has arrived home” is the trigger, “the sun has already set” is the condition, and “turn on the living room lights” is the action.
Devices appear on a shared dashboard for a phone, computer, or wall-mounted tablet. You can assign them to rooms and create separate views for family members and guests.
With a local integration, commands and data remain on the home network, and scenarios can work without an internet connection. However, if a device provides only a cloud API, Home Assistant will also depend on the manufacturer’s service.
Additional features include mobile notifications, presence detection, the Assist voice assistant, and an energy dashboard for tracking the grid, solar panels, batteries, gas, water, and individual appliances.
Useful Home Assistant scenarios
Lighting without constantly using a switch
A motion sensor turns on the lights only after sunset. At night, it uses low brightness, and after several minutes without movement, the lights turn off.
Leak protection
A sensor detects water, the system closes a compatible electric shutoff valve, turns off the pump, and sends a notification. The important action happens immediately, rather than after the owner notices the message.
Climate control based on presence
When the last person leaves, the heating or air conditioner switches to an energy-saving mode. An open window can temporarily disable climate control in a specific room.
Laundry completion notification
A smart plug measures the washing machine’s power consumption. When power drops below a set level after the cycle, Home Assistant reports that it is time to take out the laundry.
Finding unnecessary energy consumption
Consumption history helps reveal loads that run continuously and shows which appliances are more economical to operate at another time.
Is coding required
Programming is not required for a basic smart home. Integrations, rooms, dashboards, and most automations are configured through the graphical interface.
YAML, templates, and custom integrations are needed for more complex cases. You do not need to start with them: older guides that require manually editing almost every setting no longer reflect the normal path for a beginner.
Where is the best place to install Home Assistant
The current documentation uses two main options: Home Assistant Operating System and Home Assistant Container.
| Option | Best suited for | What you should know |
|---|---|---|
| Home Assistant Green | You need a ready-made hub | The system is already installed |
| Raspberry Pi or mini PC with Home Assistant OS | Most home users | Convenient updates, backups, and apps |
| Virtual machine on a NAS or home server | You already have an always-on host | You can allocate resources and pass through USB devices |
| Home Assistant Container | Docker users | No built-in app store; updates are manual |
| VPS | Testing and remote locations | No direct access to radio devices in your home |
Home Assistant OS is the recommended option for most users. Container is convenient when other services are already running on a Linux server, but apps and some components for Thread or Z-Wave must be maintained separately.
How many resources are required
The official minimum for a virtual machine is 2 vCPU and 2 GB of RAM. Practical guidelines:
| Scenario | CPU | RAM | Storage |
|---|---|---|---|
| Test or small system | 2 vCPU | 2 GB | 32 GB SSD |
| Home setup with capacity for additional services | 2–4 vCPU | 4 GB | 32–64 GB SSD |
| Cameras, local voice, and extensive history | 4+ vCPU | 8+ GB | From 64 GB SSD |
Cameras, history retention, voice models, and additional containers increase the load the most. An SSD is preferable for a permanent installation.
How to install Home Assistant with Docker Compose
This method is suitable for a Linux server with Docker Engine and Docker Compose installed. Create a directory:
mkdir -p ~/homeassistant/config
cd ~/homeassistant
Create compose.yaml:
services:
  homeassistant:
    container_name: homeassistant
    image: ghcr.io/home-assistant/home-assistant:stable
    volumes:
      - ./config:/config
      - /etc/localtime:/etc/localtime:ro
      - /run/dbus:/run/dbus:ro
    environment:
      TZ: Etc/UTC
    restart: unless-stopped
    stop_grace_period: 60s
    privileged: true
    network_mode: host
The /run/dbus line is required for Bluetooth and can be removed if Bluetooth is not used. Replace the Etc/UTC time zone with your own. Start the container:
docker compose up -dThe interface will open at http://SERVER_IP:8123. On a home server, use it inside the local network. On a VPS, close port 8123 in the external firewall beforehand.
For the first login to a remote server, you can create an SSH tunnel:
ssh -L 8123:127.0.0.1:8123 user@SERVER_IPOpen http://localhost:8123, create an administrator account, and add your first integrations.
Can Home Assistant be used on a VPS
Home Assistant Container works on a Linux VPS. This is suitable for exploring the interface, using cloud integrations, and connecting remote locations through VPN or MQTT.
However, a VPS is located outside your home. It usually cannot see local devices through network discovery and cannot directly use your home USB adapter for Zigbee, Z-Wave, or Thread. Bluetooth sensors will also remain out of range.
For this reason, it is better to keep the main controller at home and use a VPS as an external layer: a VPN gateway, secure access point, monitoring server, or host for related services.
For a test system without local radio protocols, 2 vCPU, 2 GB of RAM, and an SSD are enough. With tropic.host, you can start with a small Linux configuration and increase the resources if MQTT, Node-RED, a database, or other containers are added to Home Assistant. Zigbee, Thread, Z-Wave, and Bluetooth are still better kept on the home node.
How to configure secure access and backups
Do not expose port 8123 directly. For remote control, use Home Assistant Cloud, a VPN, or a reverse proxy with HTTPS. Enable multi-factor authentication and grant administrator permissions only to users who need them.
Home Assistant supports automatic encrypted backups. Keep one copy outside the system and store the emergency kit with the encryption key separately.
Common mistakes
| Mistake | Better approach |
|---|---|
| Buying a device before checking its integration | Review supported models and features |
| Creating dozens of automations immediately | Start with one simple scenario |
| Removing physical switches completely | Preserve manual control for critical functions |
| Installing a Zigbee coordinator on a VPS | Place it inside the home |
| Keeping the backup next to the system | Make a copy on another device or outside the home |
Brief conclusion
Home Assistant turns separate devices into one system: a single dashboard, unified history, and automations across brands. You can start without programming by checking compatibility, installing Home Assistant OS or Container, and creating one useful scenario.
It is better to keep the main server inside the home, especially when using Zigbee, Thread, Z-Wave, or Bluetooth. A VPS is useful for testing, cloud integrations, VPN, monitoring, and related services, but it does not replace a local radio gateway.
FAQ
Is Home Assistant free?
Yes. Hardware, third-party cloud services, and the optional Home Assistant Cloud subscription may cost money.
Will the system work without an internet connection?
Local integrations and automations will continue to work inside the home network. Cloud-only devices will be unavailable without an internet connection.
Is a Raspberry Pi required?
No. You can use Home Assistant Green, a mini PC, an old computer, a NAS, a virtual machine, or a Linux server.
Which is better: Home Assistant OS or Container?
Home Assistant OS is more convenient for most users. Container suits people who already use Docker and are prepared to maintain additional services themselves.
Can devices from different manufacturers be connected?
Yes, if compatible integrations are available. Before buying, check not only the brand, but also the specific model and supported functions.